


Hello Everyone, in this article we will have a talk on creating a GitHub profile readme.
What is GitHub 🤔 ?
-> GitHub is a provider of Internet hosting for software development and version control using Git. It offers the distributed version control and source code management functionality of Git, plus its own features.
GitHub provides a special feature to display a file with the extension .md to display on the profile.
For This, you need to have a GitHub account 😅 I hope you are having one If not go on GITHUB and sign up 😲
After creating an account you need to create a new repository with the same name as your username.
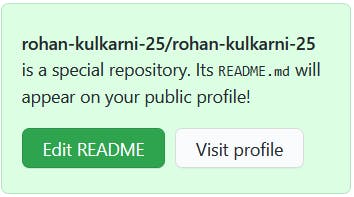
You:- Ok I have done that but how will I get to know I have created the right one or not?
Me:- If in the repository you created you are getting a message in the green box then Congrats 🥳, You Successfully created the right repository !!
Now by editing the README.md file, you can make your profile ready !! ⚡
What things to include in Profile Readme? ( Personal Opinion 😬)
-> Well, so there is no certain rule that you should include these things you should not include these things. Just by keeping in mind that it should be attractive, neat, and clean. But I will let you know how I created my profile and surely that will give you a basic idea about how to create one for you.
Let's Go through my Profile Rohan Kulkarni
Section 1 : Banner
-> This is an optional part but I feel that this gives an attractive look to the overall profile. You can try to express your tech-stack or something which is not related to coding also. Totally Depends on you.
This is My Banner 👇🏻

Section 2: Intro ( A bit about yourself )
-> In this section, you can introduce yourself. You can mention your college and stream or at which position you are, you can also add what you are learning or your aims.

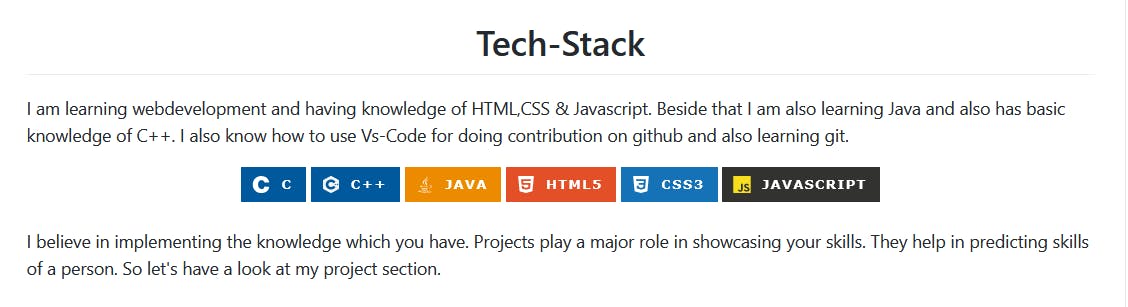
Section 3: Tech Stacks
-> In this section, you can add the skills which you know. I have added the badges which help in enhancing the look of the profile.
You: From where did you get those badges did you made them?
Me: No, I don't make them but got that from a GitHub repository Ileriayo / markdown-badges you just have to copy and paste the code of the respective badge.
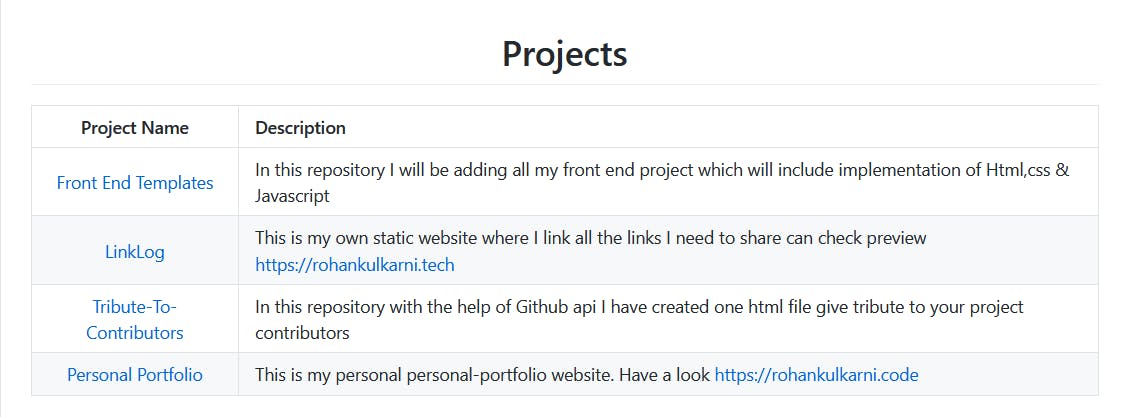
Section 4: Projects ( THE Most IMPORTANT )
-> This section is important because this will let others know your real skills! They will get to know how nicely you can implement the skills which you have learned so far so don't miss this one in your profile & don't forget to provide deployment links as no one will go to the repository and check deployment there.
Section 5: Socials
-> In this section, you can provide your social handle's so if anyone got impressed by your profile and want to get connected with you or collaborate with you then the person should able to do that 😉. I have used the badges which are the same as the repository I mentioned in Section 3.

Section 6: GitHub Stats
-> In this section, you can add some graphs as I have done. It's totally a personal choice but as this gives an overall idea about your active contribution do consider it
You: From where did you get those graphs? From the same repository?
> Me: 😅 No, this time I took those graphs from anuraghazra / github-readme-stats .You can also copy those from my repository and just enter your username in place of mine.
Finally Your GitHub ReadMe is Ready to be showcased 🥇
I hope this article will help you in making one profile and do tag me on socials if you shared your profile and if this article helped you.
Wanna get connected with me 😄 Twitter LinkedIn
Recently I also have started a Telegram channel If you like this content please consider checking my Channel Telegram